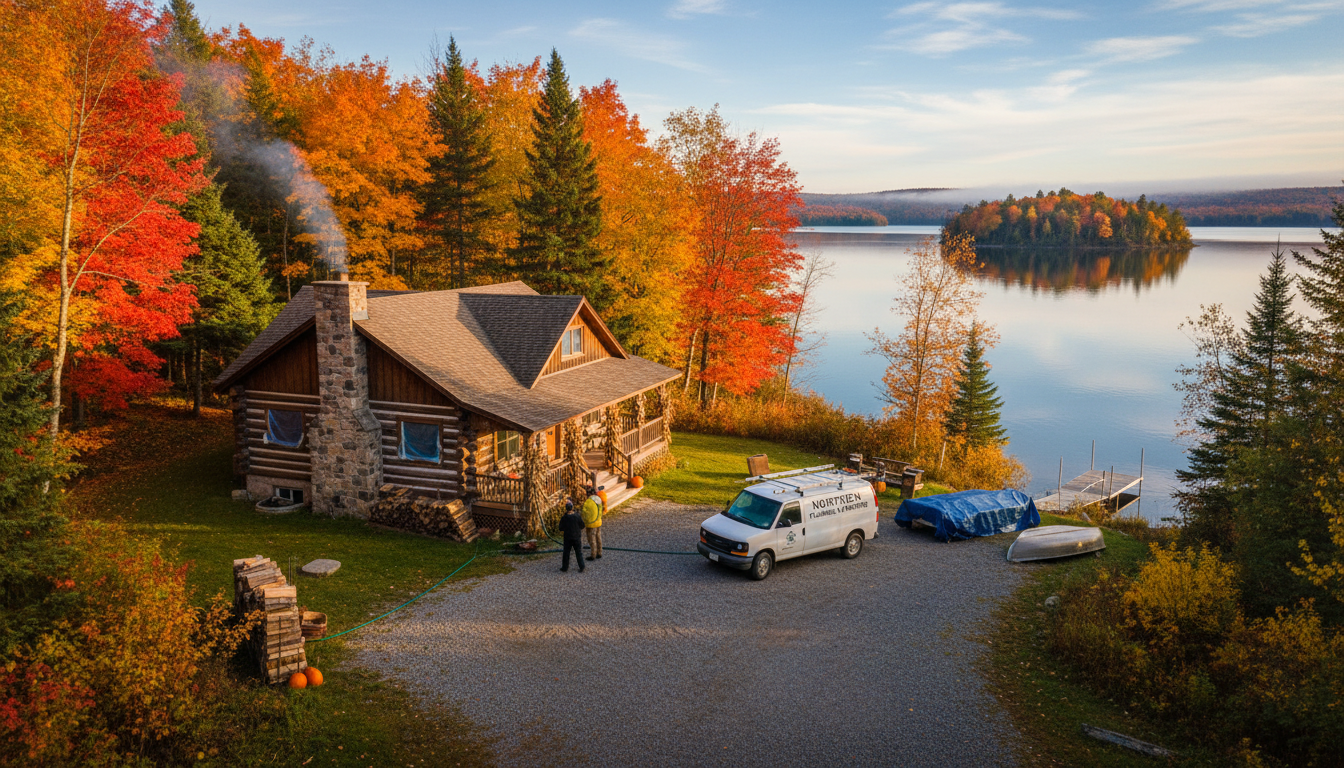
A Lake Nipissing cottage being prepared for winter — proper winterization prevents thousands of dollars in freeze damage.
Cottage winterization is essential in the North Bay and Lake Nipissing region, where winter temperatures routinely plunge to -30°C and beyond. If your cottage sits unoccupied through the winter without heat, every pipe, trap, and water-holding fixture is guaranteed to freeze and potentially burst. Proper winterization — draining all water, blowing out lines, and adding antifreeze to traps — protects your property from catastrophic water damage and typically costs $200–$500 when done by a professional plumber.
Every fall, thousands of cottage owners around Lake Nipissing, Callander, Trout Lake, and the broader North Bay area face the same question: how do I protect my cottage plumbing from a Northern Ontario winter? The answer is thorough winterization — and the consequences of skipping it are severe. A single burst pipe in an unoccupied cottage can release thousands of litres of water before anyone notices, causing $10,000 to $50,000 or more in structural damage.
This guide walks you through the complete cottage winterization process, from shutting off the water supply to spring de-winterization. Whether you handle it yourself or hire a professional, you'll know exactly what needs to happen to keep your cottage safe until spring.
Why Cottage Winterization Is Non-Negotiable
There's no way around it: if your cottage is unoccupied and unheated through a Northern Ontario winter, you must winterize the plumbing. This isn't a precaution — it's a requirement. Here's why the North Bay region is especially unforgiving.
Temperatures regularly hit -30°C to -40°C. Environment Canada data for North Bay shows extended cold snaps every winter where temperatures stay below -25°C for days at a time, with overnight lows reaching -35°C to -40°C. Wind chill off Lake Nipissing makes exposed lakefront cottages even colder. Water freezes at 0°C — your cottage will be well below that within hours of losing heat.
Unoccupied means no heat, and no heat means a guaranteed freeze. Even if you leave the heat on, a power outage, furnace failure, or propane tank running empty can leave your cottage without heat for days before you know about it. Most cottage owners on Lake Nipissing and Trout Lake don't visit between November and April — that's five months of winter with no one to notice a problem. The only safe approach is to remove all water from the system entirely.
Freeze damage is catastrophic and often invisible until spring. When a pipe bursts in an unoccupied cottage, water flows unchecked. Floors buckle, drywall crumbles, mould colonizes every surface, and structural joists can rot. We've seen cottages on Lake Nipissing where owners returned in May to find their entire main floor destroyed by a pipe that burst in January. The repair costs dwarfed the value of the cottage itself. A $200–$500 professional winterization would have prevented all of it.
Insurance may not cover you if you skip winterization. Most cottage insurance policies in Ontario require you to either maintain heat throughout the winter (with regular property checks) or properly winterize the plumbing. If you do neither and a pipe bursts, your claim may be denied. We'll cover insurance requirements in detail below.
The Complete Winterization Checklist
Follow these steps in order. Each one builds on the previous, and skipping any single step can leave water trapped in the system where it will freeze and cause damage.
1. Shut Off the Water Supply
Start by turning off the main water supply to the cottage. If you're on municipal water (less common for cottages in our area), close the main shutoff valve. If you're on a well water system — which most Lake Nipissing, Callander, and Trout Lake cottages are — shut off the well pump at the electrical panel. This stops any new water from entering the system while you drain everything.
2. Drain All Pipes and Fixtures
Open every faucet in the cottage — hot and cold, kitchen, bathroom, laundry, outdoor. Open the drain valve at the lowest point in your plumbing system (usually near the water heater or in the basement/crawl space). Let gravity do the initial work. Leave all faucets open throughout the winter so that any residual water can expand without building pressure.
3. Blow Out Lines with an Air Compressor
Gravity won't get all the water out — low spots, horizontal runs, and fixture traps will still hold water. Connect an air compressor (set to no more than 50–70 PSI to avoid damaging fittings) to the system through a hose bib or drain fitting. Blow air through each line, one zone at a time, until no more water comes out of the open faucets. This is the single most important step in the winterization process.
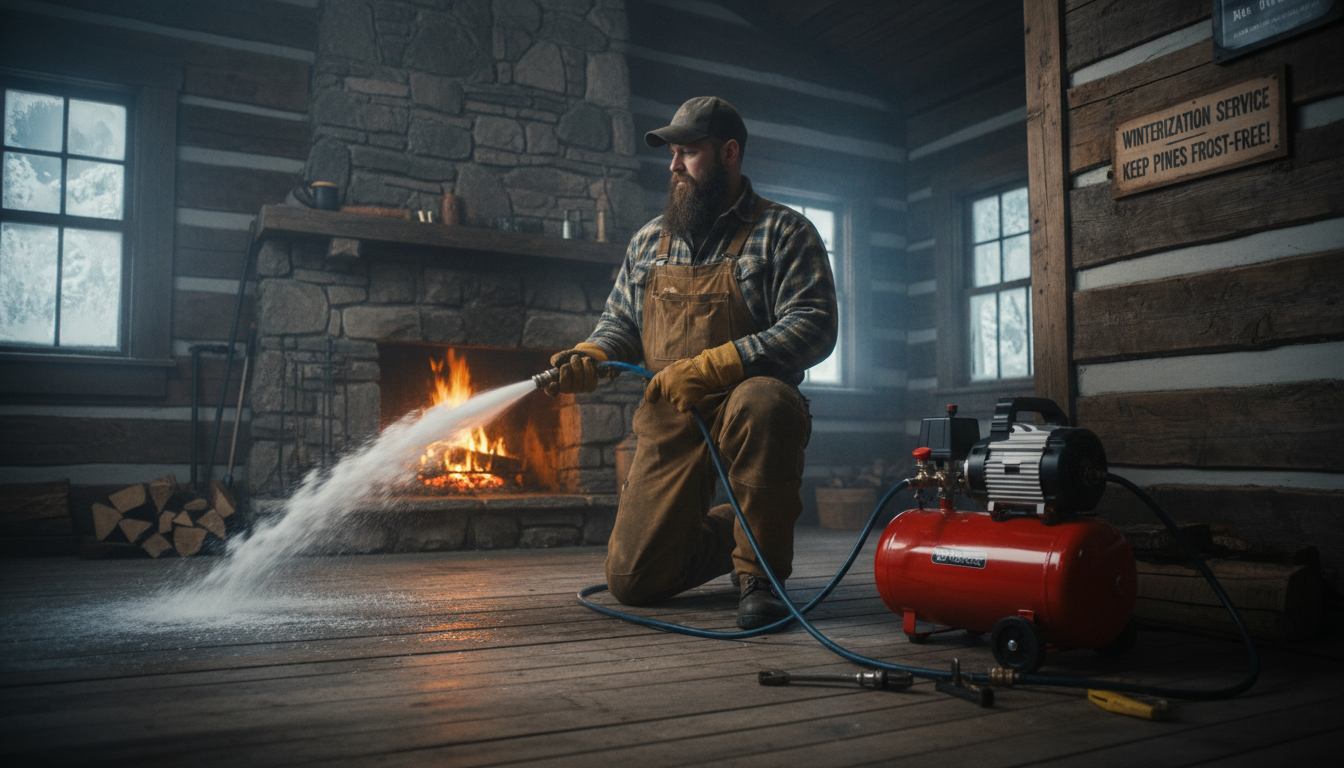
Blowing out water lines with an air compressor — the most critical step in cottage winterization.
4. Drain the Water Heater
Turn off the water heater (gas or electric) and let it cool. Connect a garden hose to the drain valve at the bottom of the tank and drain it completely. For tankless water heaters, follow the manufacturer's drain procedure — most require draining the heat exchanger and any inline filters. Leaving water in a water heater through a freeze will crack the tank, and replacement costs $1,500–$3,000+.
5. Add RV Antifreeze to All Traps and Drains
Every drain in your cottage has a P-trap that holds water to block sewer gas. This trapped water will freeze if you don't address it. Pour non-toxic RV antifreeze (the pink stuff, rated to -50°C) into every drain: kitchen sink, bathroom sink, bathtub, shower, floor drains, and toilet bowl. Pour about 1–2 cups into each drain and 2–3 cups into each toilet bowl. Do not use automotive antifreeze — it's toxic and will contaminate your plumbing.
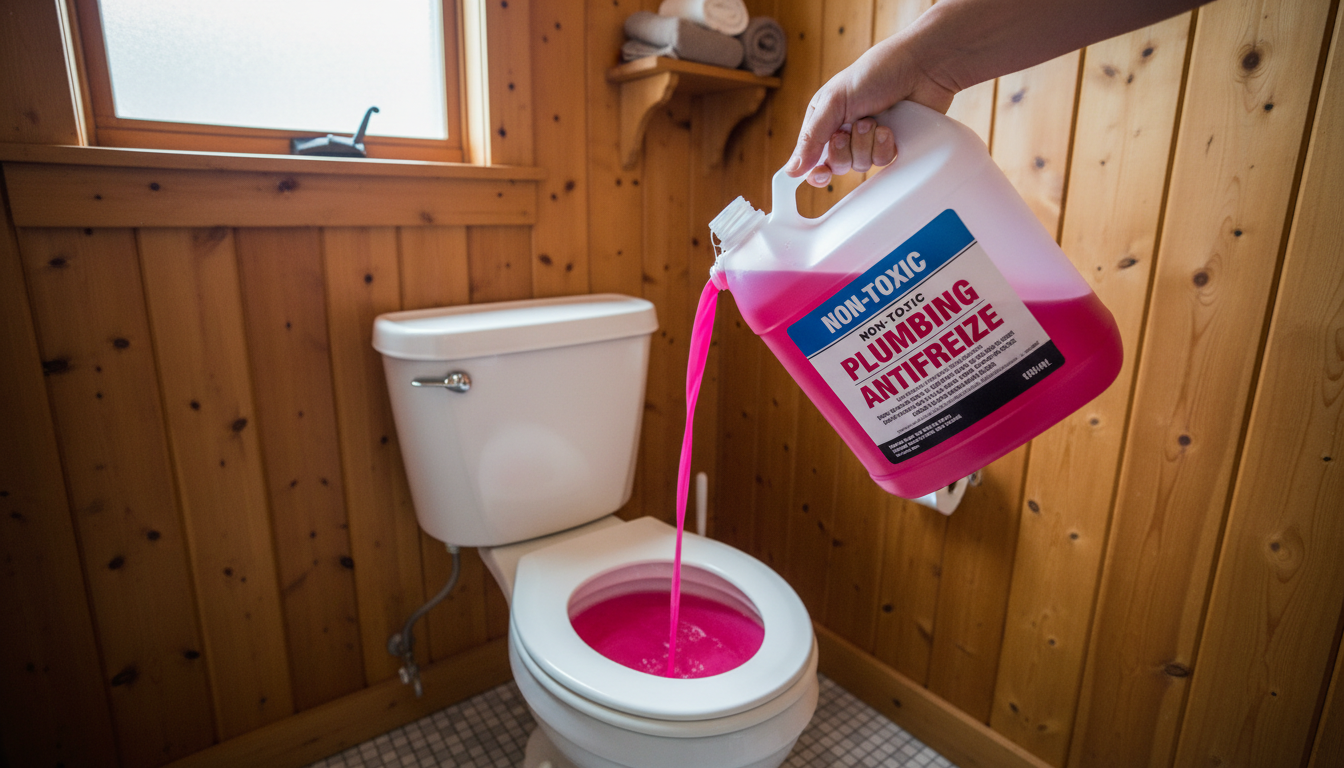
Non-toxic RV antifreeze in a cottage toilet bowl — protects the trap and porcelain from freeze damage down to -50°C.
6. Flush and Treat Toilets
Shut off the toilet supply valve and flush to empty the tank. Use a sponge or wet-dry vacuum to remove any remaining water from the tank and bowl. Then pour RV antifreeze into the bowl until the trap is filled with antifreeze instead of water. If your toilet has a plastic tank, leaving water in it risks cracking. For cottages with multiple bathrooms, repeat for each toilet.
7. Disconnect the Washing Machine
Disconnect both hot and cold supply hoses from the washing machine. Run a short spin cycle to expel any water from the pump and internal hoses. If your washing machine has a drain pump filter, open it and drain any remaining water. Leave the machine door open to prevent mould and allow any residual moisture to evaporate.
8. Shut Off and Drain Outdoor Taps
Close the interior shutoff valve for each outdoor faucet (hose bib), then open the exterior tap to drain the line. Disconnect and store any garden hoses. If you don't have interior shutoffs for your exterior faucets, a plumber can install frost-proof hose bibs — a worthwhile upgrade for any cottage. Outdoor showers, if present, should be fully drained and blown out as well.
Well Water Systems — Additional Steps
Most cottages around Lake Nipissing, Callander, and Trout Lake rely on well water systems rather than municipal water. Wells require additional winterization steps beyond the standard checklist.
Drain the Pressure Tank
Your pressure tank holds several gallons of water under pressure. After shutting off the well pump, open the drain valve on the pressure tank and let it empty completely. If your tank doesn't have a drain valve, you'll need to drain it through the lowest point in the system. Some pressure tanks have a rubber bladder inside — these should be left with the normal air charge but no water.
Drain the Well Line (If Possible)
Depending on your well configuration, you may be able to drain the supply line between the well and the cottage. Submersible pumps (the most common type in our area) sit at the bottom of the well — the supply line from the well to the cottage is the vulnerable section. If your plumbing includes a drain-back valve or pitless adapter with a drain feature, activate it. If not, a professional plumber can assess whether your well line is at risk and recommend solutions.
Insulate the Well Head
Even if your well is drilled (not dug), the well head and casing above ground are exposed to extreme cold. Cover the well head with an insulated well cap or wrap it with heat-rated insulation. For dug wells with above-ground enclosures, ensure the enclosure is sealed against wind and insulated adequately. A frozen well head can crack the casing, and well repairs are expensive — $2,000 to $5,000 or more.
Septic System Winterization
If your cottage has a septic system (most lakefront properties do), there are specific winterization considerations to keep in mind.
Do not pump your septic tank in late fall. This is counterintuitive, but pumping your tank right before winter removes the liquid that provides insulation to the tank. An empty or nearly empty septic tank is more likely to freeze. If your tank needs pumping, schedule it for early fall (September) or wait until spring.
Insulate the septic riser and inspection ports. If your tank has above-ground risers or inspection ports, cover them with insulating material — rigid foam board, straw bales, or purpose-built riser insulation covers. Snow is actually a good insulator, so don't clear snow from the area above your septic tank and leach field.
Ensure the tank is at a proper level. Before winterizing, make sure your septic tank has a normal liquid level. If it's low (which can happen if you've had the cottage closed for a few weeks already), add water to bring it up. The liquid mass resists freezing better than air space above it.
Protect the leach field. Don't drive vehicles or heavy equipment over the leach field, especially when the ground is frozen. Compressed, frozen soil takes longer to thaw in spring and can damage the distribution pipes. If your leach field is in an open area with no snow cover, consider adding a layer of straw or mulch for insulation.
Insurance Requirements — Don't Skip This
Your Insurance May Require Winterization
Most cottage insurance policies in Ontario include specific clauses about winter property maintenance. Failing to comply can void your coverage entirely. Read your policy carefully and follow these guidelines.
- Most policies require winterization by a specific date — typically October 31 or November 15. If you choose to maintain heat instead, most insurers require regular property checks (often every 48–72 hours) and a functioning alarm system that alerts you to heat loss.
- Document everything. Take photos and videos of each winterization step. Save receipts from any professional winterization service. Keep a dated checklist of what was done and when. This documentation is your proof of compliance if you ever need to file a claim.
- Notify your insurer. Some policies require you to notify your insurance company when the cottage is closed for the season and confirm that winterization has been completed. A quick phone call or email to your broker can prevent a claim dispute later.
- Consider a water leak detection system. Smart water sensors that alert your phone are inexpensive ($50–$150) and give you early warning if water appears where it shouldn't. Some insurers offer premium discounts for cottages equipped with leak detection systems.
Spring De-Winterization — Reversing the Process
When the ice goes out on Lake Nipissing and cottage season returns (typically late April to mid-May), you need to reverse the winterization process carefully. Rushing the de-winterization can cause problems just as easily as skipping winterization in the fall.
Turn on the water supply slowly. If you're on well water, prime the pump according to your system's requirements and turn it on. Open one faucet at a time and let the system pressurize gradually. Watch for leaks at every connection — joints that survived the winter may still have been weakened by ice expansion.
Check for damage before fully pressurizing. Walk the cottage and visually inspect every visible pipe, connection, and fixture before turning the water on. Look for cracks, bulges, disconnected fittings, or staining that indicates a past leak. Check under sinks, behind toilets, around the water heater, and in the crawl space or basement.
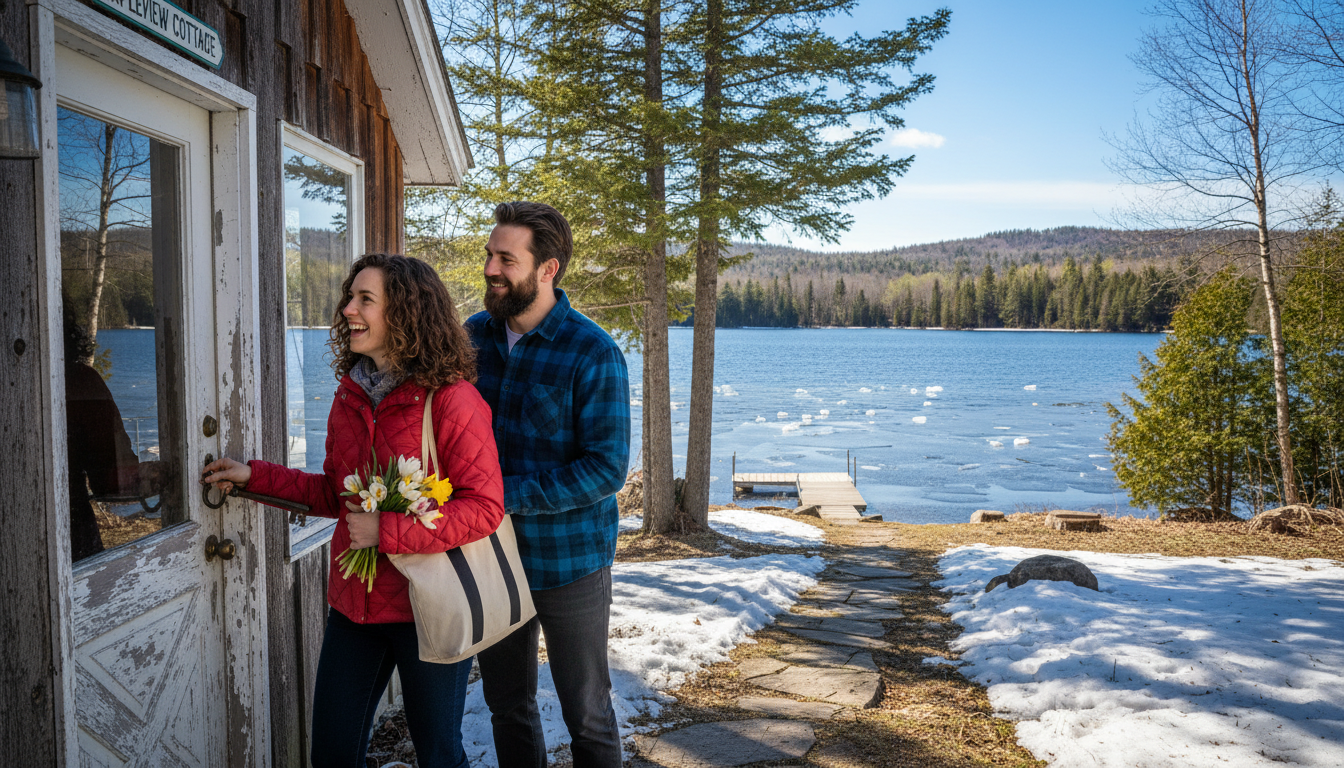
Opening the cottage for spring — a careful de-winterization ensures no surprises from the long Northern Ontario winter.
Test all fixtures one at a time. Turn on each faucet (hot and cold), flush each toilet, run the washing machine, and test the dishwasher. Watch for proper water flow and check for leaks. If a fixture isn't flowing properly, there may be residual antifreeze or debris in the line — let it flush through.
Flush all lines thoroughly. RV antifreeze is non-toxic, but you still want to flush it out of the system before using the water for drinking or cooking. Run each faucet for 3–5 minutes. If your cottage has a water filter, replace the filter cartridge at spring opening. Run the water heater through a full cycle to flush any sediment or antifreeze residue.
Reactivate the water heater. Refill the water heater tank completely before turning on the heating element or pilot light. Firing a water heater with an empty or partially filled tank can damage the heating elements (electric) or crack the heat exchanger (gas). Once full, turn it on and let it come to full temperature, then check for leaks around the connections and relief valve.
Test the well water quality. If your cottage has been closed for five months, the first water out of the well may have elevated bacteria counts. Consider running a water quality test before drinking the water, especially if you have young children or elderly family members using the cottage. Your local health unit can provide testing kits, or we can arrange testing as part of a spring de-winterization service.
DIY vs Professional Winterization — When to Call a Plumber
Cottage winterization is one of those jobs that's straightforward if you know what you're doing and disastrous if you miss a step. Here's how to decide whether to tackle it yourself or call a professional.
DIY is reasonable if: You've done it before and have a proven checklist. You own an air compressor and know how to connect it to your plumbing. Your cottage has a simple plumbing layout (single bathroom, no complex manifold system). You're comfortable working with your well pump and pressure tank.
Call a professional if: This is your first time winterizing a cottage. Your cottage has multiple bathrooms, a hydronic heating system, or an in-floor radiant system with glycol loops. You have a complex well water setup with multiple pressure zones. You're not sure whether all the water is out of the system (the most dangerous uncertainty). You want documentation for your insurance company.
Professional winterization typically costs $200–$500 depending on the size of the cottage and complexity of the plumbing. This includes shutting off and draining the entire water system, blowing out all lines with a commercial-grade compressor, adding antifreeze to all traps, draining the water heater, and providing a completion certificate for your insurance records. For a cottage worth $300,000+, the $200–$500 investment is one of the best insurance policies you can buy.
We winterize dozens of cottages every fall across Lake Nipissing, Callander, Trout Lake, and the surrounding area. We also offer spring de-winterization services to get your cottage ready for the season. One call handles both — 705-482-1253.
Need Cottage Winterization?
Whether you need fall winterization, spring opening, or emergency frozen pipe repair at the cottage, we serve the entire Lake Nipissing and North Bay region. One call gets it handled.
Call 705-482-1253